How to make layered cocktails at home!
May 14, 2023
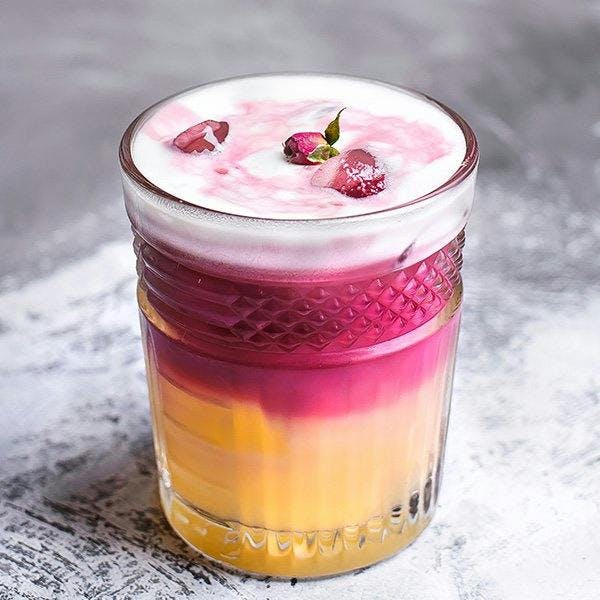
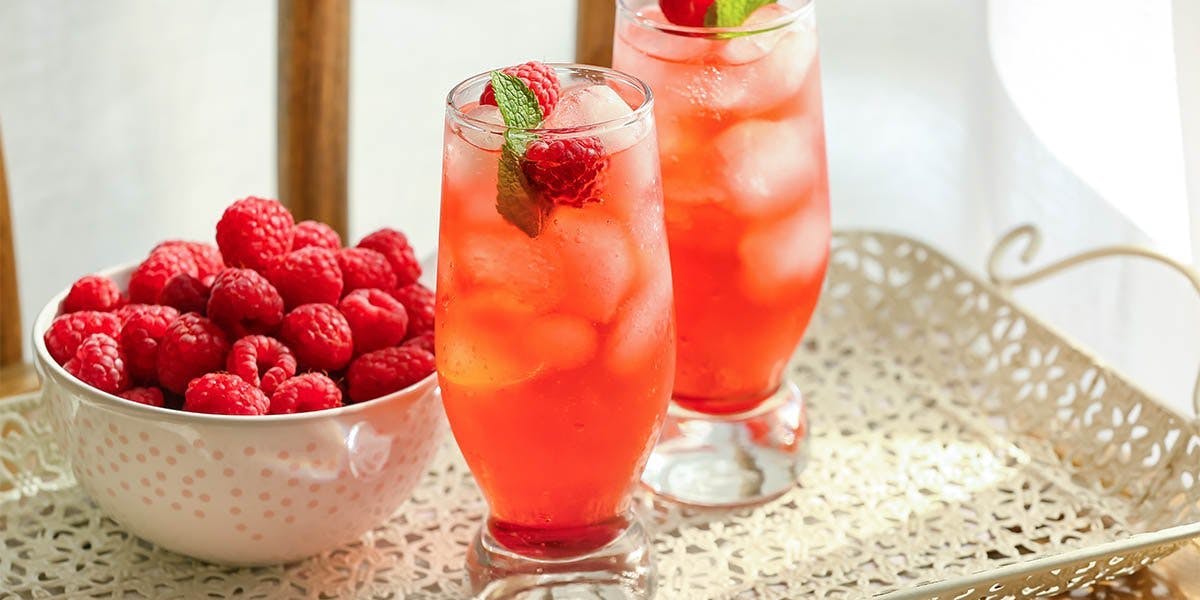
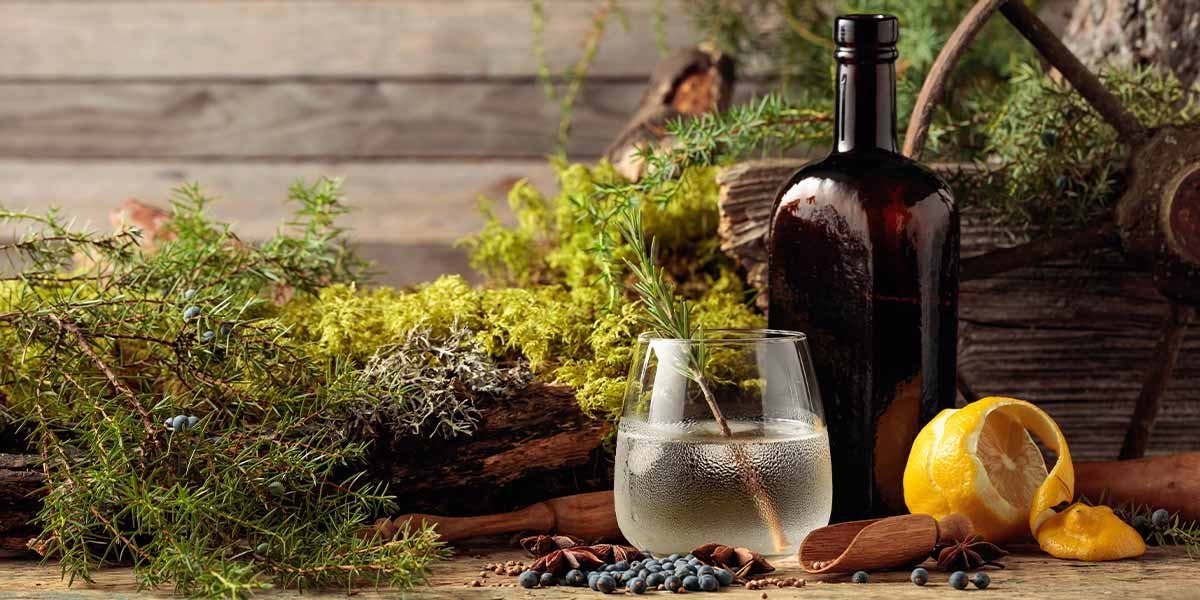
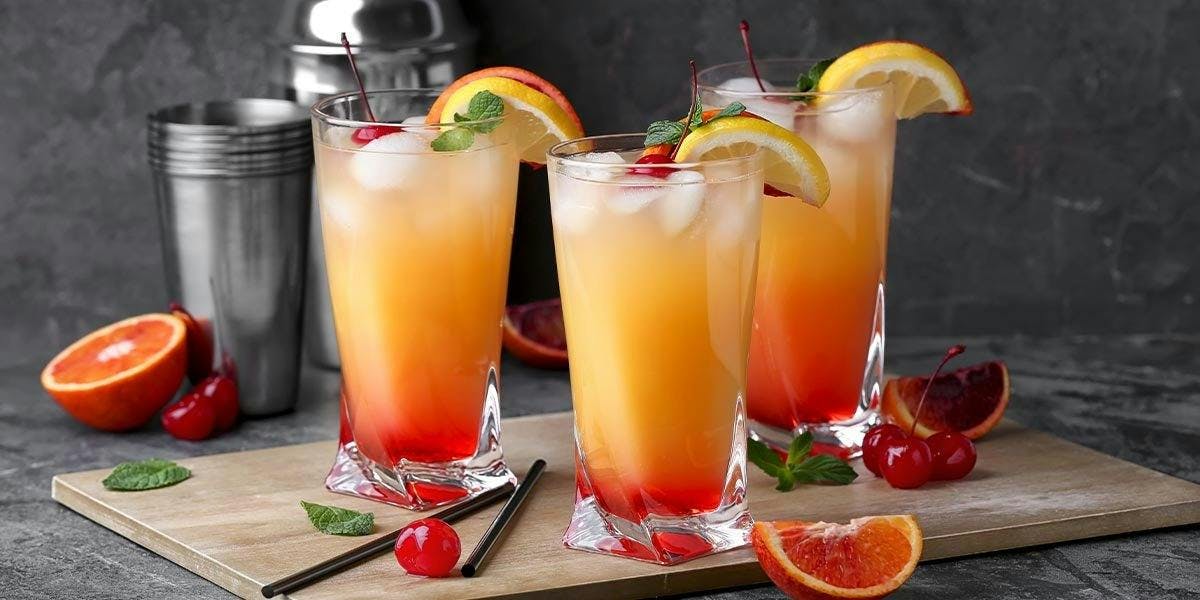
Have you seen a prettier gin cocktail?
Here at Craft Gin Club, we love a cocktail that looks as good as it tastes! And the good news is, you don’t need to go to a fancy bar to get a gorgeous, colourful layered cocktail - you can make them at home (and it’s easier and quicker than you think!).
If you want to impress your guests or gin pals with a multi-coloured gin cocktail (that looks super professional), you’re about to learn how!
Going to give this a go? It’s a no-brainer to share your images with us, and enter into our monthly Sip & Snap! competition. You could win a bundle of craft gins and tonics, worth over £100!
What alcohol can be layered?
Before you start, it’s helpful to understand the science behind why some liquids mix immediately and others can lay on top of each other in the glass.
As with most things involving floating, there’s an element of weight involved. It may seem strange, but every liquid has its own weight. Think, for example, about the difference in how a sloe gin liqueur will feel in your mouth, versus a London Dry.
Shop our wide range of spirits & more


The gin liqueur will have a heavier feeling against your tongue; this is because it contains more sugar, which gives it more weight than a relatively low-sugar liquid like a London Dry Gin.
With that in mind, always remember the rule of layering drinks: the heaviest liquid needs to be on the bottom. Once you understand that rule, it’s all about technique…
How to build a layered cocktail
- Starting with the heaviest drink – almost always the liquid highest in sugar – pour the first layer into the glass.
- Take a spoon and place it upside down in your glass. It should be near, but not touching, your first layer of liquid.
- Pour your second liquid over the back of the spoon very slowly. The slower and more gently you pour, the less likely your layers are to muddy.
- Repeat until you’ve created your desired layers. Et voila!
Starting with the heaviest drink – almost always the liquid highest in sugar – pour the first layer into the glass.
Take a spoon and place it upside down in your glass. It should be near, but not touching, your first layer of liquid.
Pour your second liquid over the back of the spoon very slowly. The slower and more gently you pour, the less likely your layers are to muddy.
Repeat until you’ve created your desired layers. Et voila!
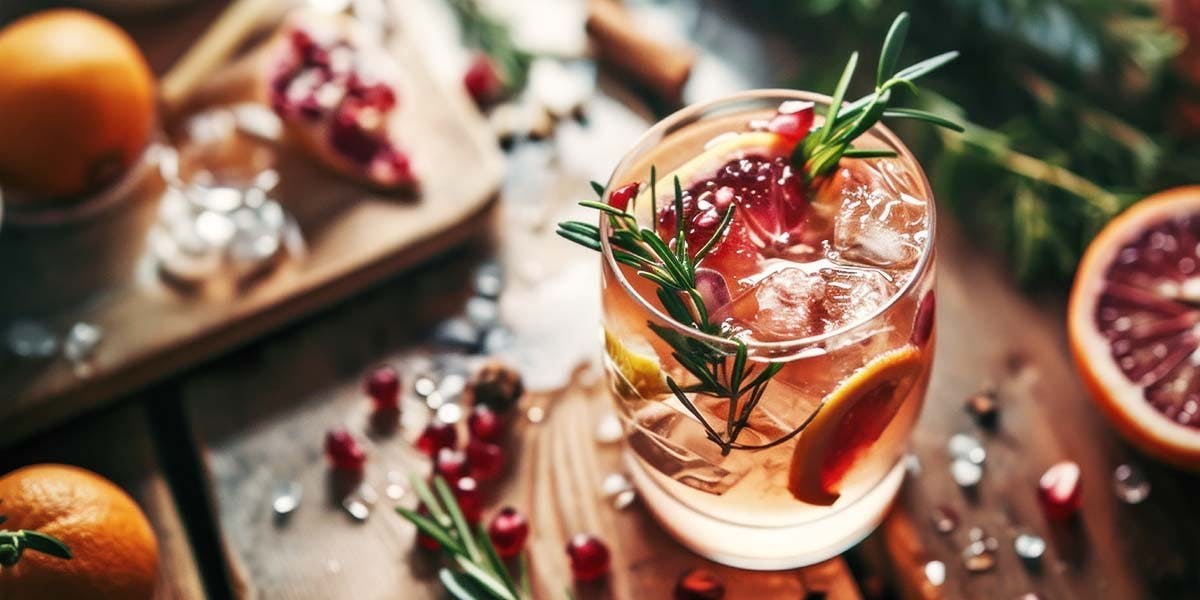
In what order should you layer your cocktail ingredients?
The exact order in which you should layer (or ‘float’) your cocktail ingredients will depend on what you’re using, but in general, this order should give you the best results:
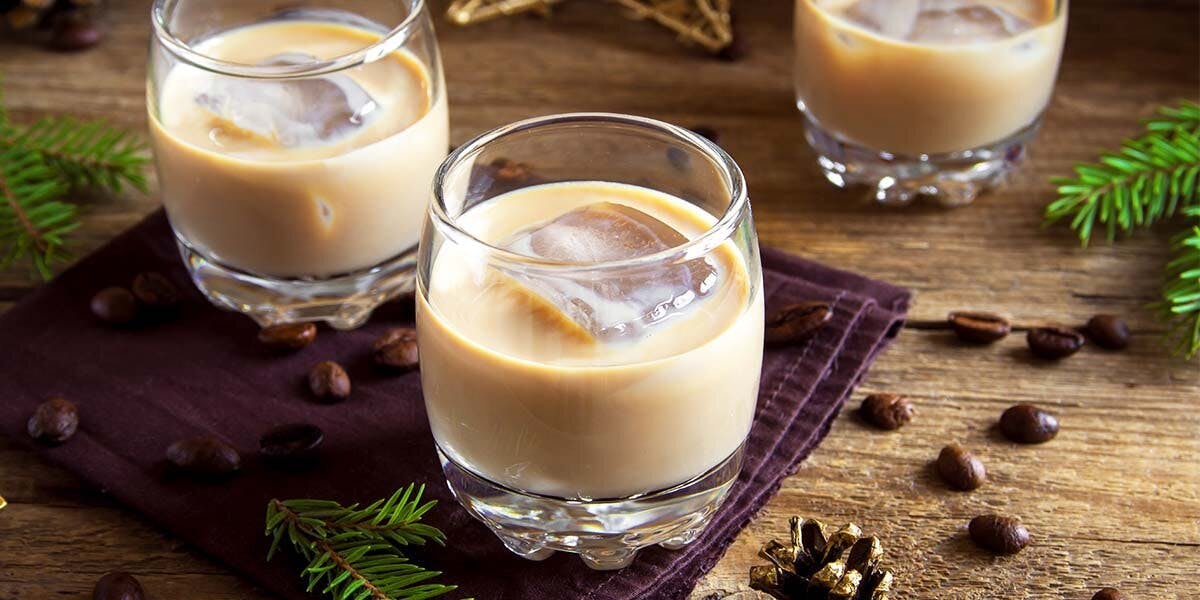
- Base Layer: sugar-heavy syrups, like the Essentials Range Grenadine on our shop
- Second Layer: liqueurs like crème de menthe and coffee liqueur
- Third Layer: dairy, like cream (optional)
- Fourth Layer: spirits, like gin
- Fifth Layer: Egg white or aquafaba (optional)
Base Layer: sugar-heavy syrups, like the Essentials Range Grenadine on our shop
Second Layer: liqueurs like crème de menthe and coffee liqueur
Third Layer: dairy, like cream (optional)
Fourth Layer: spirits, like gin
Fifth Layer: Egg white or aquafaba (optional)
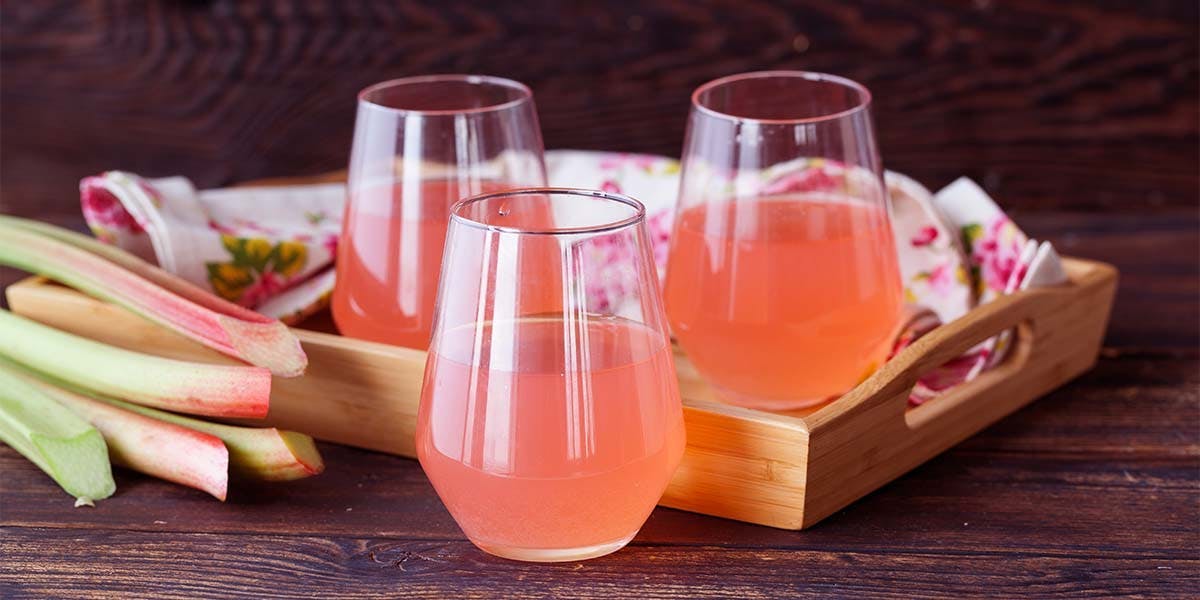
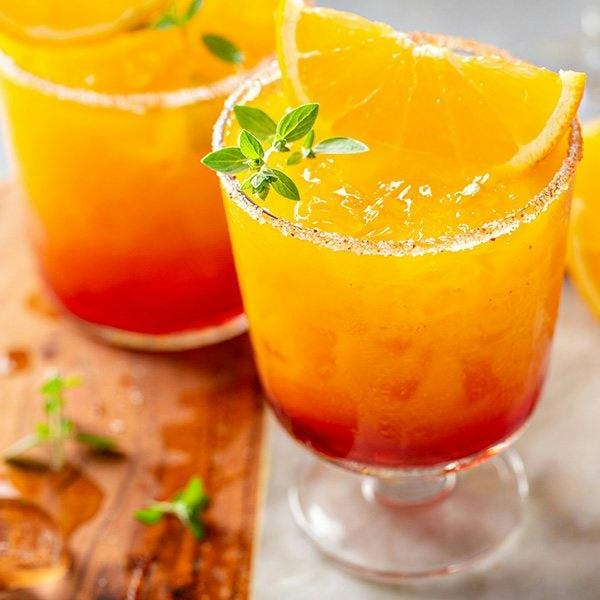
Want to practice your newly learned skill? Why not try this layered red wine gin sour cocktail recipe.
Watch our July 2021 Gin of the Month distillery make a beautiful layered cocktail below…